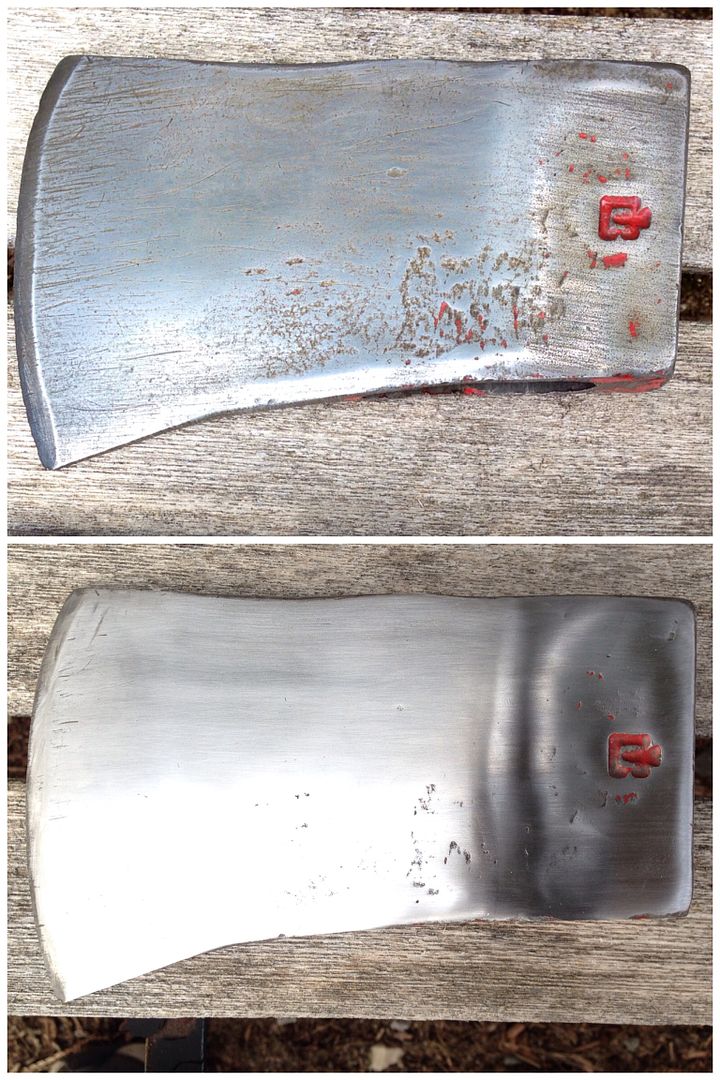
I started this thread to document my learning process during my first time through the restoration of a council tool and collins legitimus. This is an ongoing process!
Following my recent fail to acquire a GB SFA from LLBean and some unfortunate financial developments at tax time; I decided to save the money and head out to the shed and see what I might restore. I had a badly rusted 3.5 lb council tool Dayton (age unknown) and an un identified double bit, also 3.5. Only markings on the double bit is text "3 1/2". The Council is badly banged up and I have no idea what sort of activity it was subjected to.
I struggled through the removal of the helves as I don't have a proper work area. I'm following approaches I learned here but I have limited resources. I forgot to take shots before the vinegar bath too! These photos are post bath, and post sanding of the council. I have not sanded the double bit yet. I'd like to put a short, maybe 26" on the council tool.
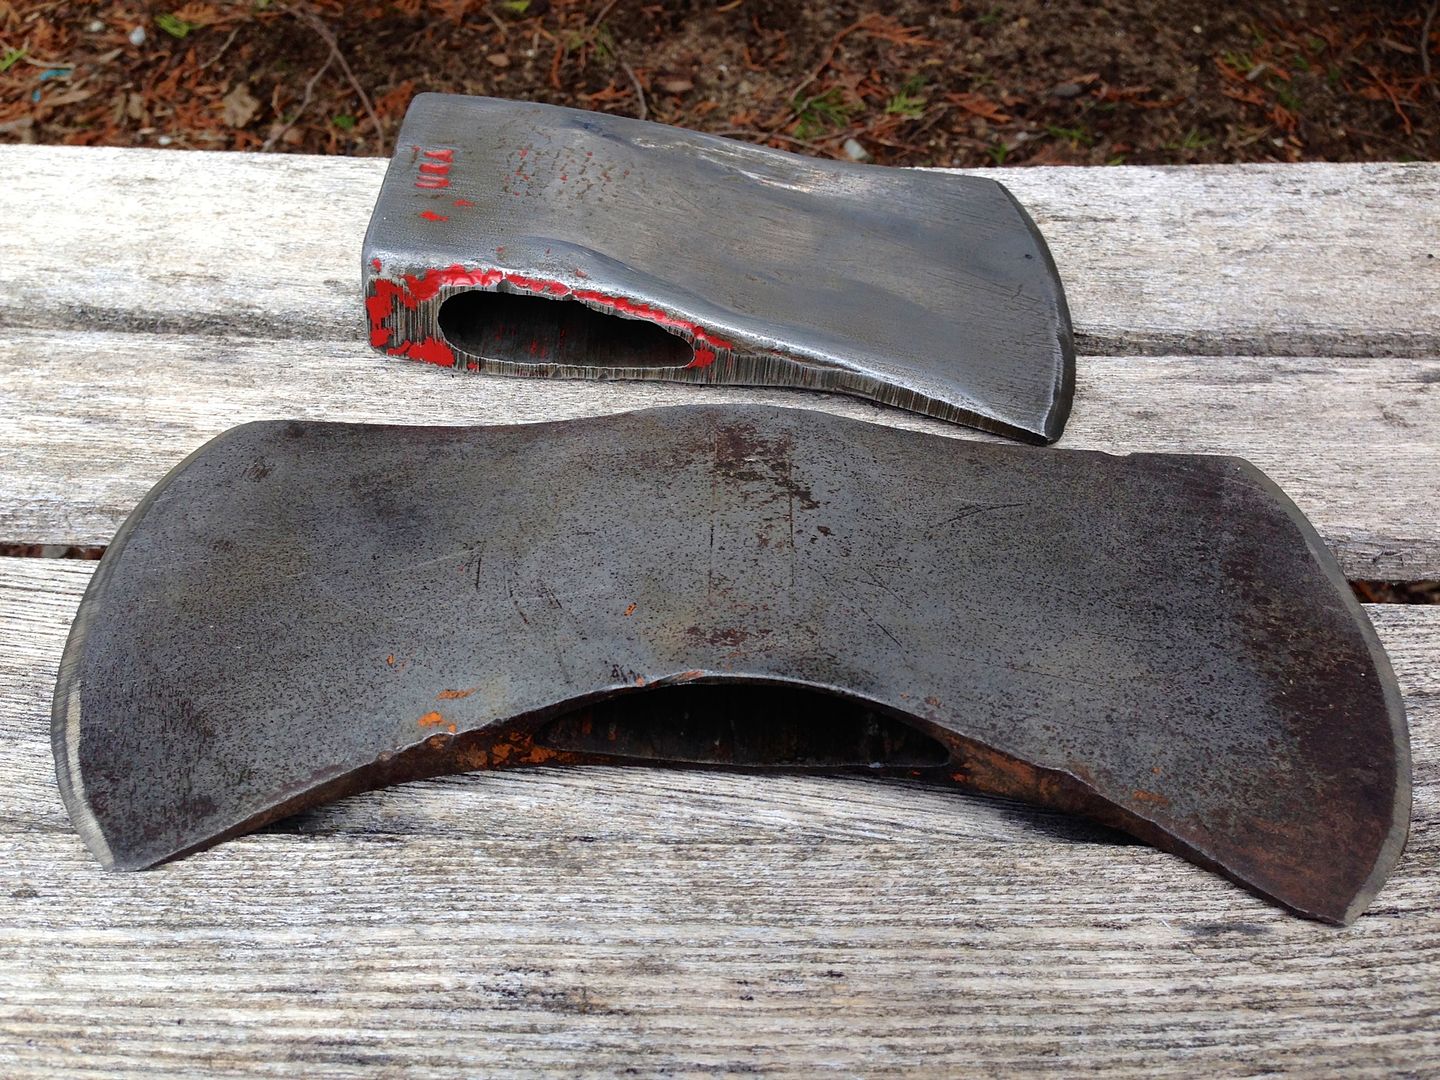
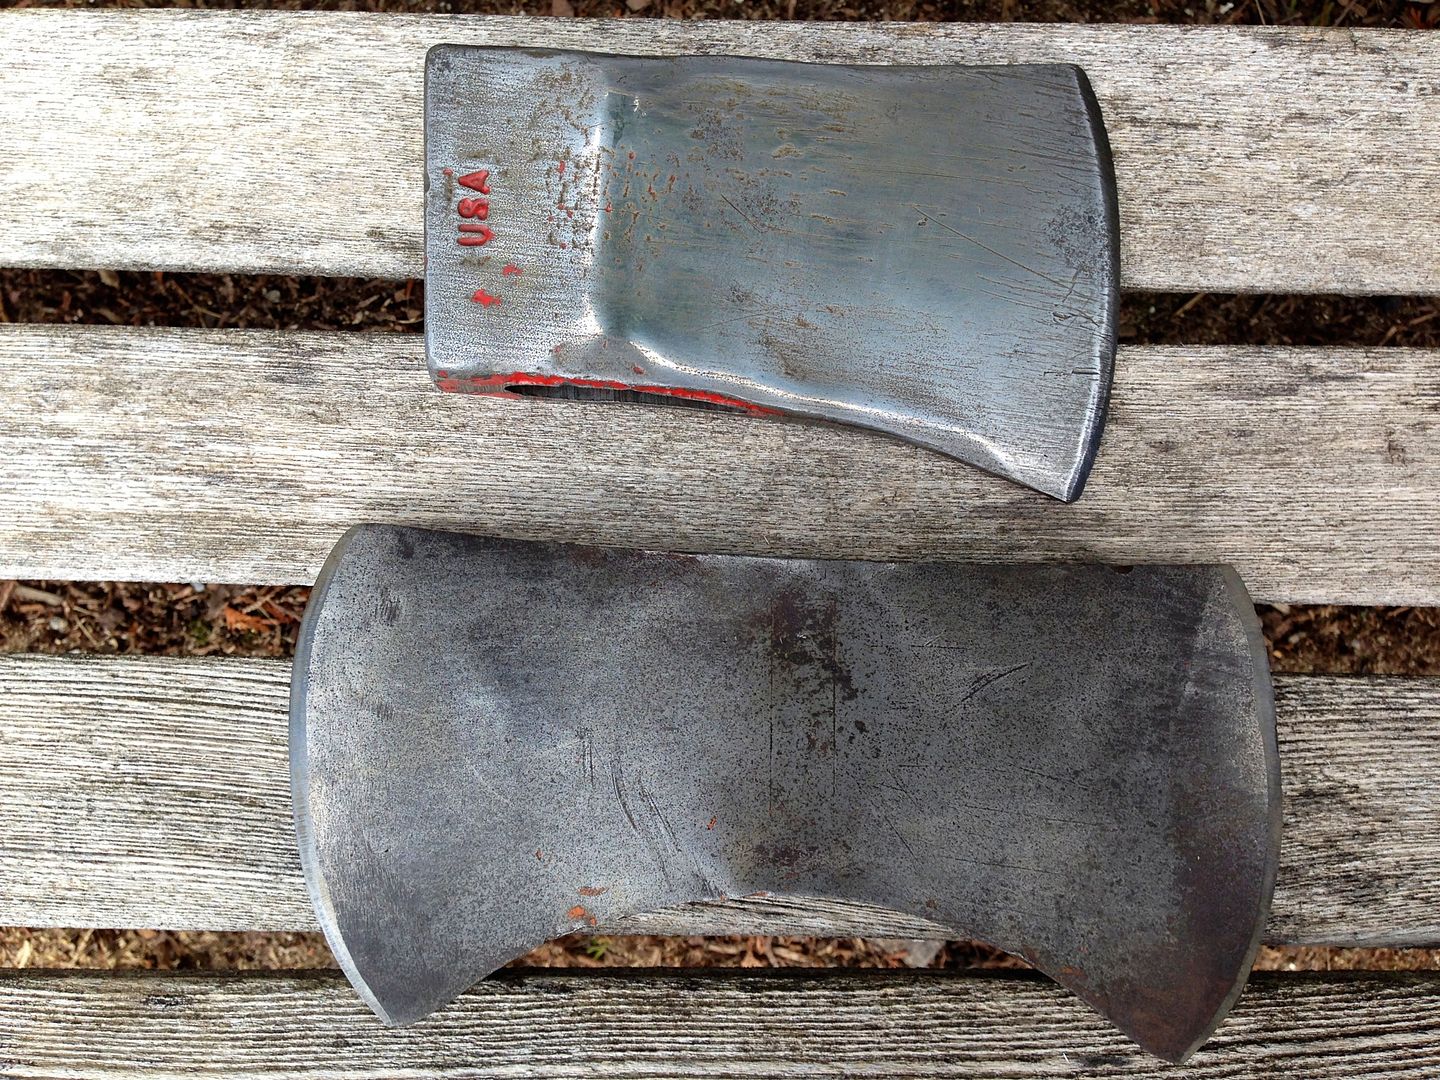
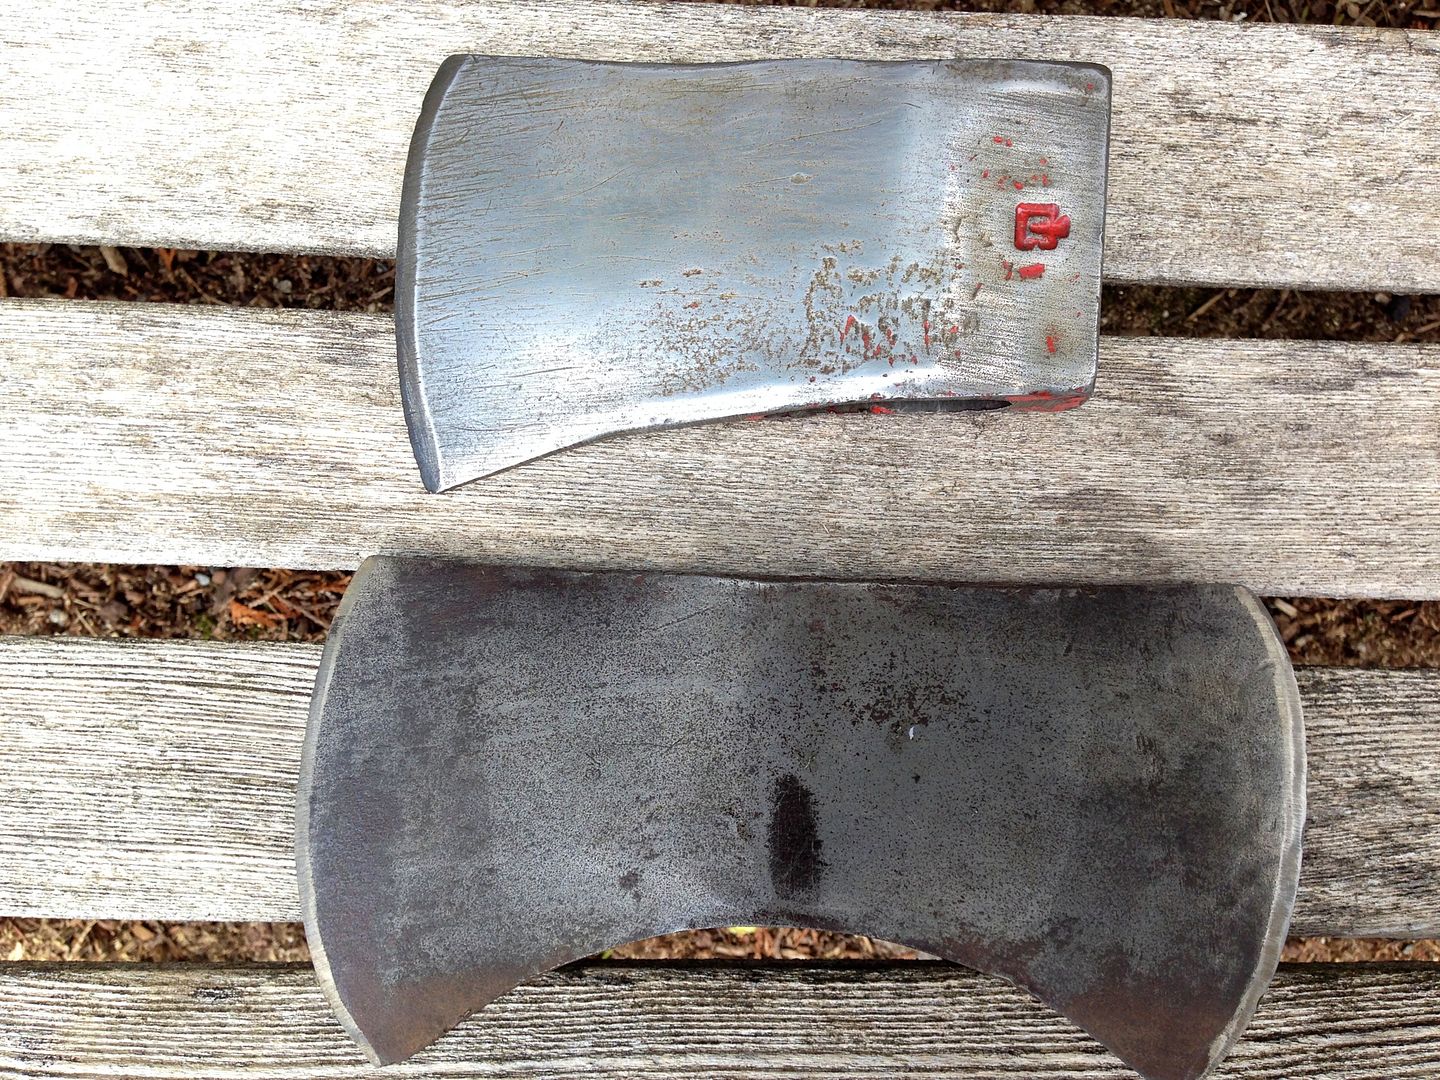
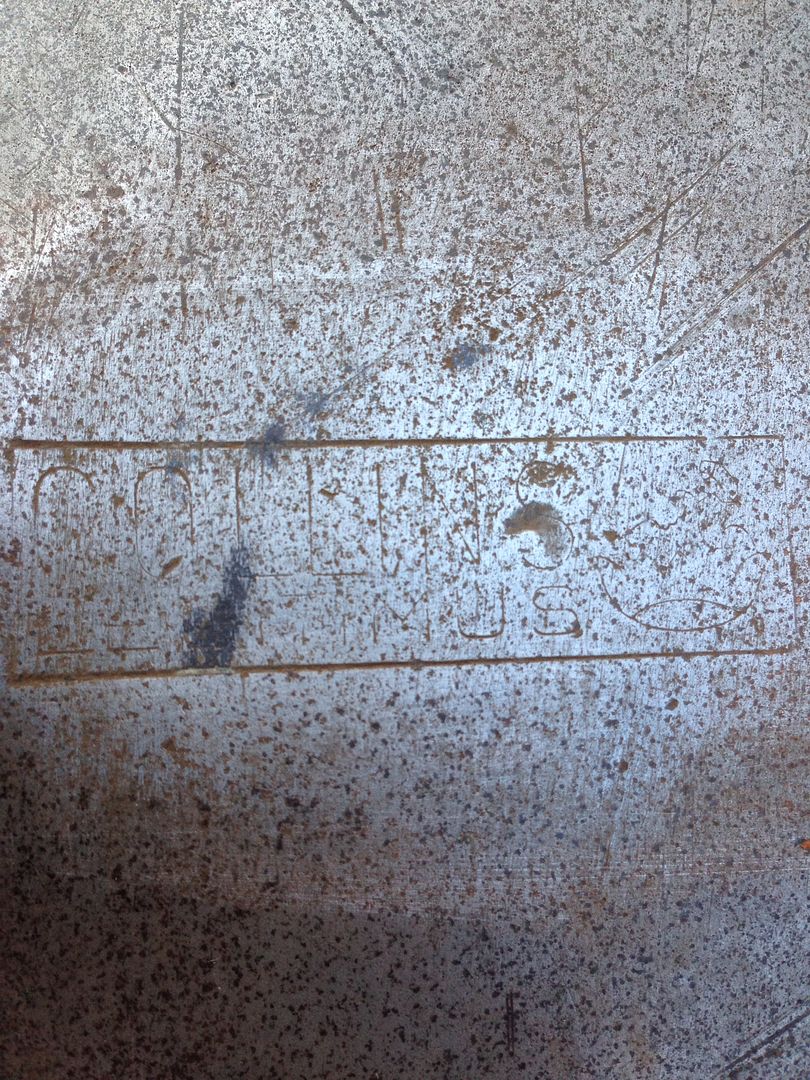
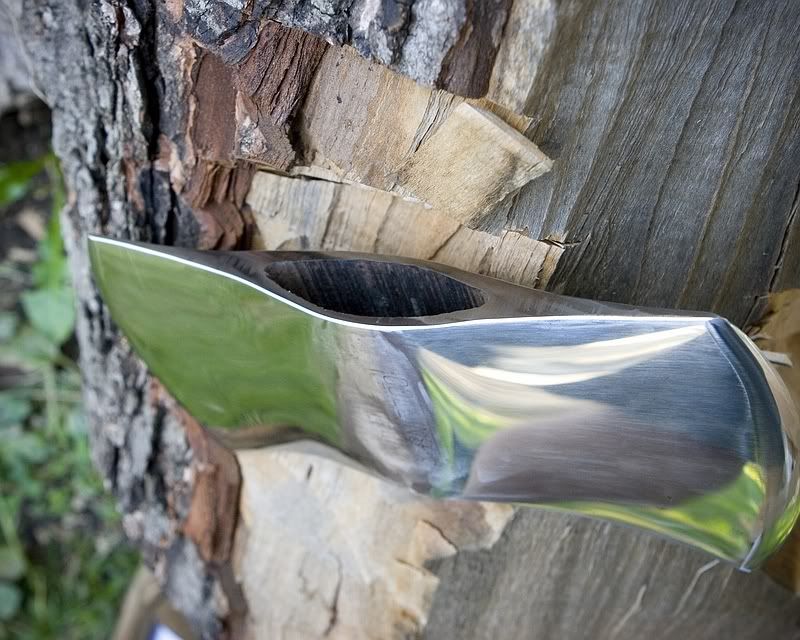
After a bit of work the double bit reveals a logo. Collins Legitimus. Any idea how old? With a little research and feedback from friends online, I learned that Collins Legitimus went out of production in 1966 so this is at least as old. I found this example online of a restore of the same Collins head. It's mirror finish is amazing and started out just like mine. Does one need tools to accomplish this, I wondered.
______________________________
Did a little looking at Lowes and I took a giant leap ahead in power today by investing in a Gator brand sanding attachment for my drill. Actually invest is not the right term - it's only about $5. Yahoo! Now I can take this to the level I want more quickly. The product came with three stick on disks 60, 100 & 150 grit. Starting with 60 grit:
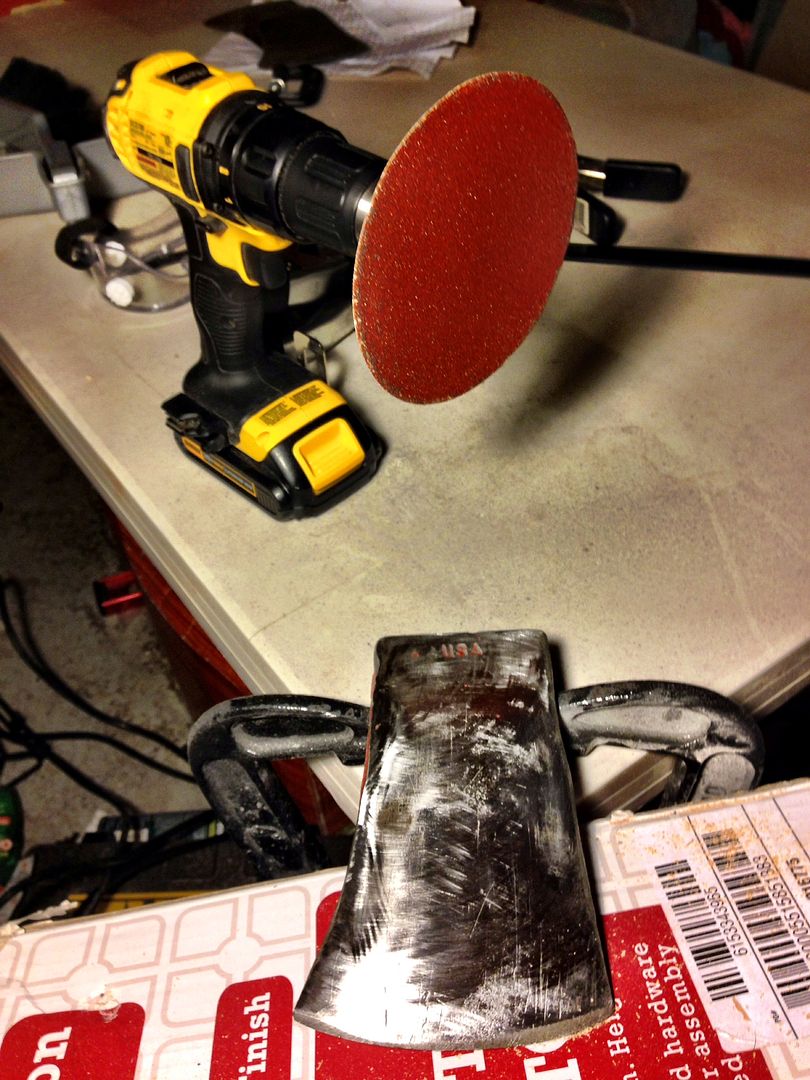
It was quite simple to remove major pits and deep scratches.
Graduated from 60 grit to 100 deciding I was not going to remove more steel. Pits and deeper scratches that remain, I'm leaving for "character" sake.
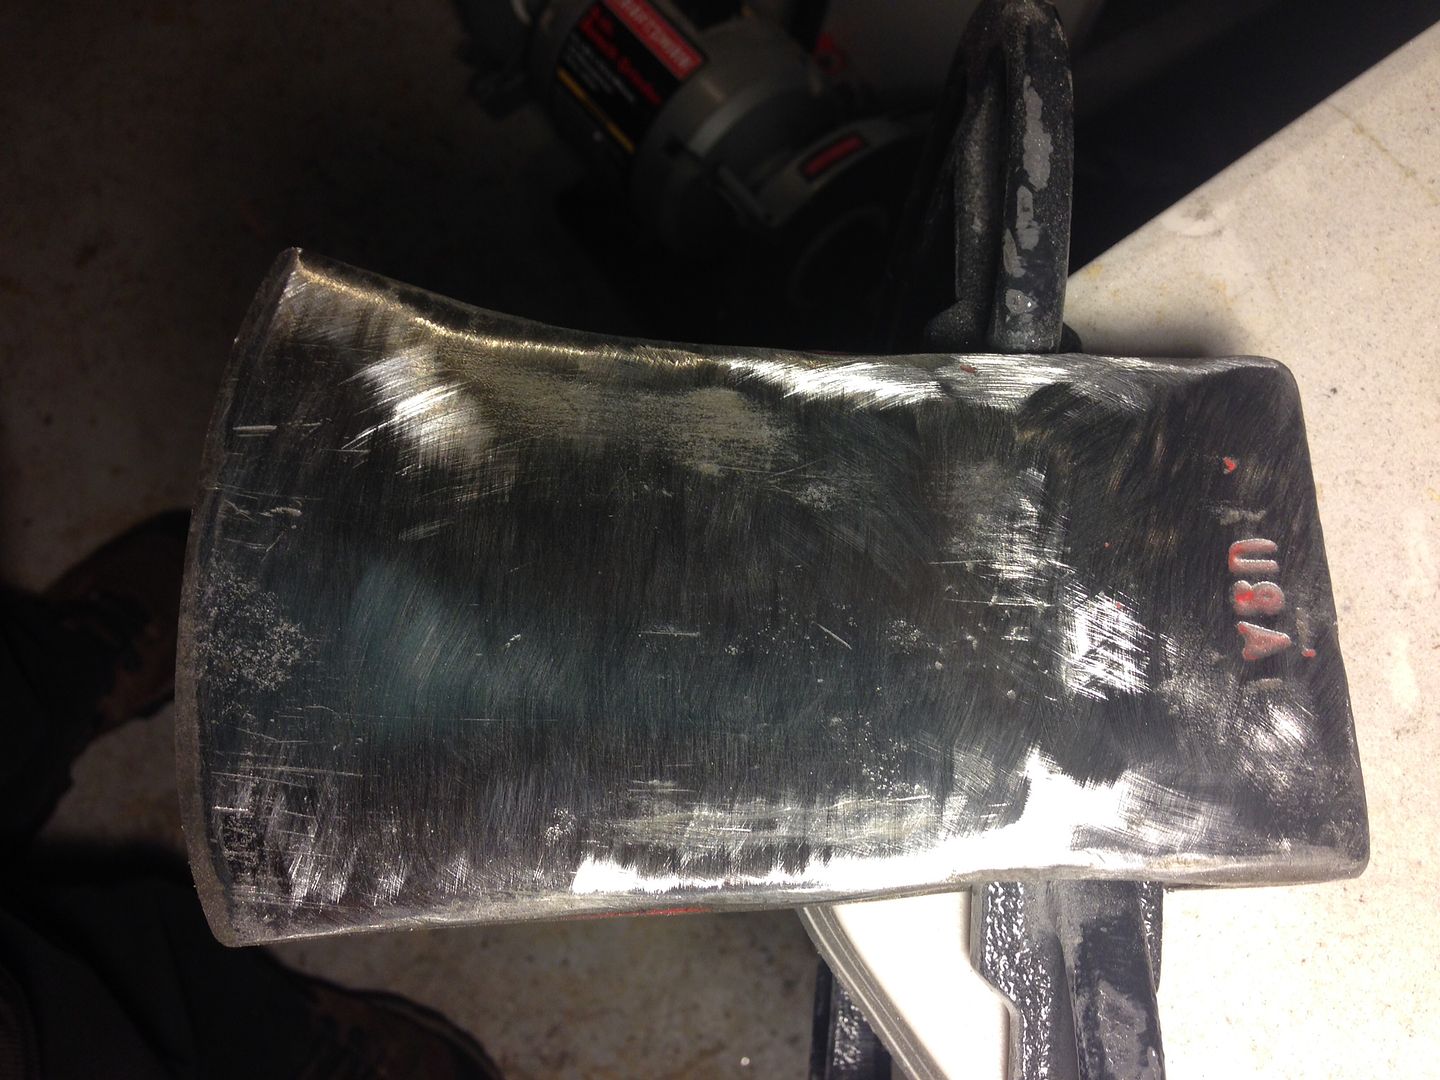
I went to hand sanding mode now after finishing 150 grit on drill. Here it is after I did one side by hand with 220 - it's starting to look good!
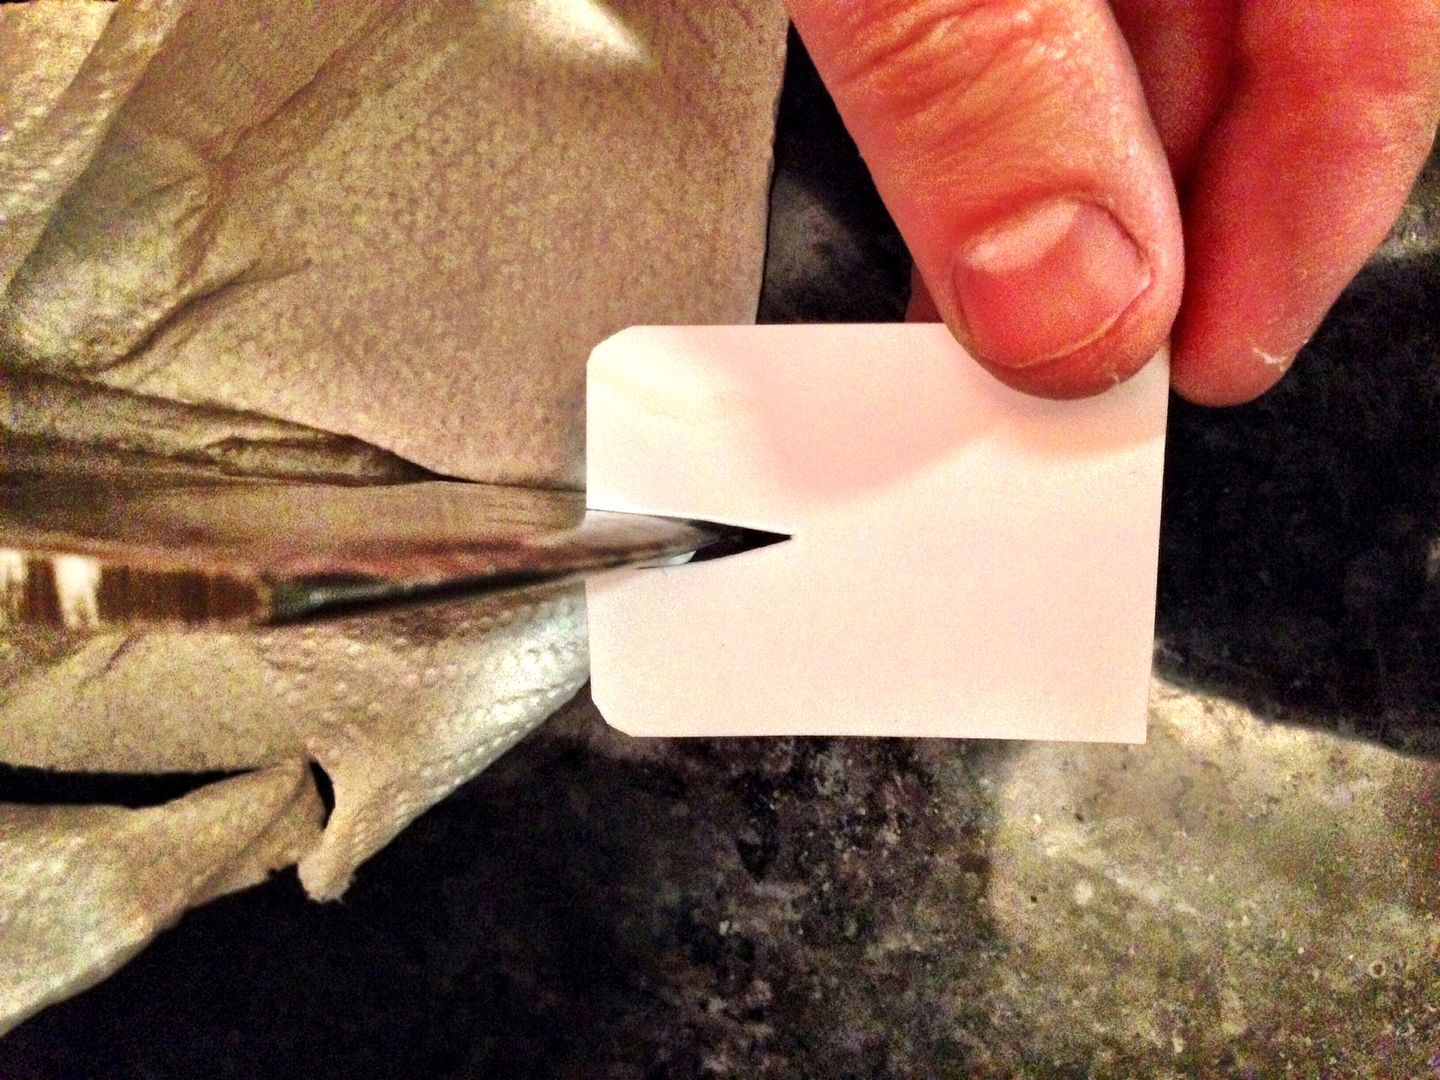
I printed up a profile guide from the forest service publication "an axe to grind". It's cool! This photo shows where the guide "hits" indicating I've got some meat to remove when I get to filing.
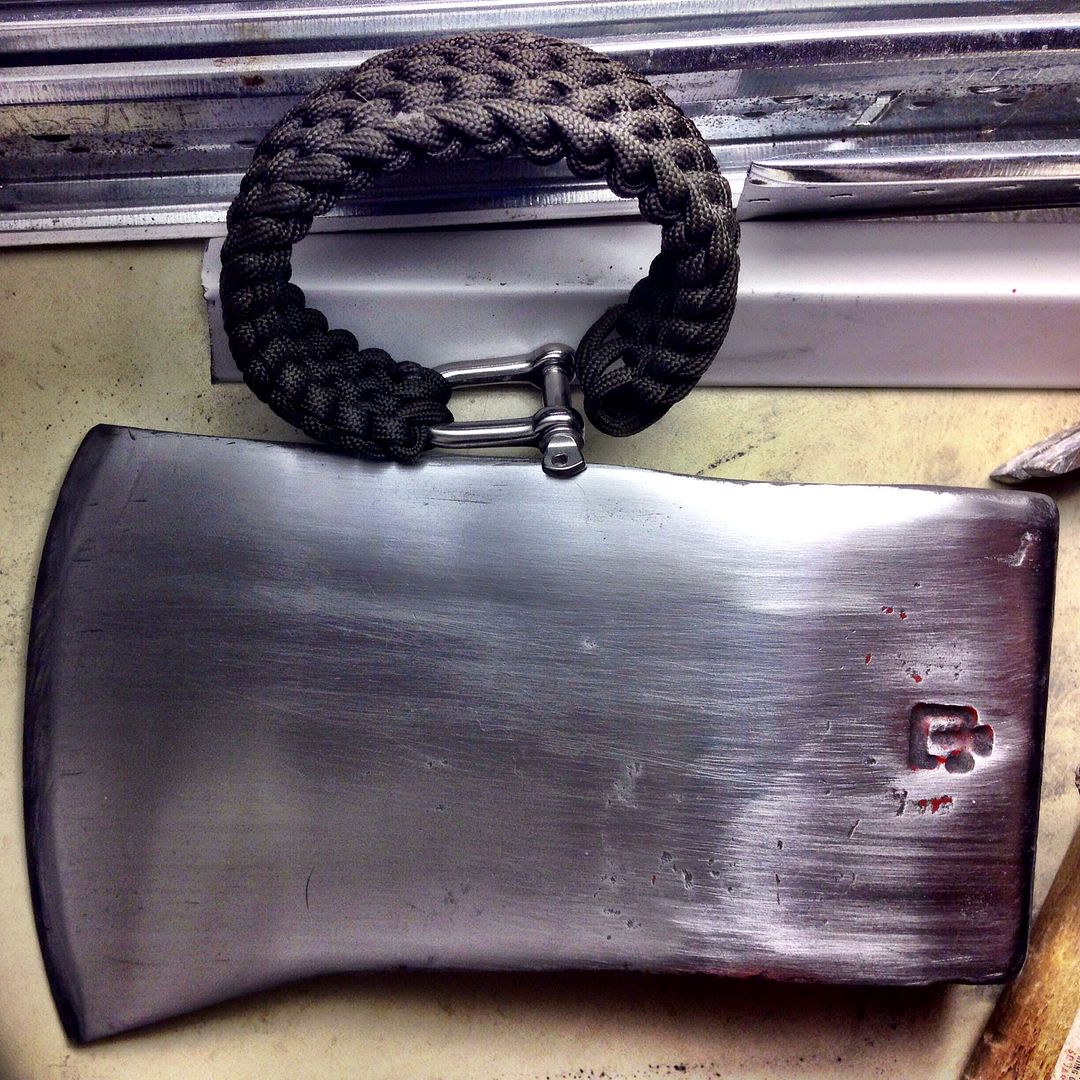
Got both sides sanded to 220 grit. All major scratches are gone except at bit where I believe they are in the file zone and will be cleaned up when sharpening. Below see first pic and current condition. Like a true fool I jumped into this without ever taking the real "before" pic when it was all rusted in the shed!!
